# 本行为<博客构建目录>\_config.yml的第4行(随着Hexo的不断更新,本行对应在你的_config.yml中不一定是第4行,请以实际情况为准) # Site -title: Hexo -subtitle: '' -description: '' -keywords: -author: John Doe -language: en timezone: ''
1 2 3 4 5 6 7 8 9
# 本行为<博客构建目录>\_config.yml的第4行(随着Hexo的不断更新,本行对应在你的_config.yml中不一定是第4行,请以实际情况为准) # Site +title: IMQL.LIFE +subtitle: It's a beautiful day! +description: 一尘不染不是不再有尘埃,而是尘埃让它飞扬,我自做我的阳光。 +keywords: 学习与生活 +author: ql +language: zh-CN timezone:
配置永久链接
配置永久链接为年月日加文章标题的英文翻译:
1 2 3 4 5 6 7 8 9 10
# 本行为<博客构建目录>\_config.yml的第13行(随着Hexo的不断更新,本行对应在你的_config.yml中不一定是第13行,请以实际情况为准) # URL ## If your site is put in a subdirectory, set url as 'http://yoursite.com/child' and root as '/child/' -url: http://yoursite.com root: / -permalink: :year/:month/:day/:title/ permalink_defaults: pretty_urls: trailing_index: true # Set to false to remove trailing 'index.html' from permalinks trailing_html: true # Set to false to remove trailing '.html' from permalinks
1 2 3 4 5 6 7 8 9 10
# 本行为<博客构建目录>\_config.yml的第13行(随着Hexo的不断更新,本行对应在你的_config.yml中不一定是第13行,请以实际情况为准) # URL ## If your site is put in a subdirectory, set url as 'http://yoursite.com/child' and root as '/child/' +url: https://www.imql.life root: / +permalink: :year/:month/:day/:trans/ permalink_defaults: pretty_urls: trailing_index: true # Set to false to remove trailing 'index.html' from permalinks trailing_html: true # Set to false to remove trailing '.html' from permalinks
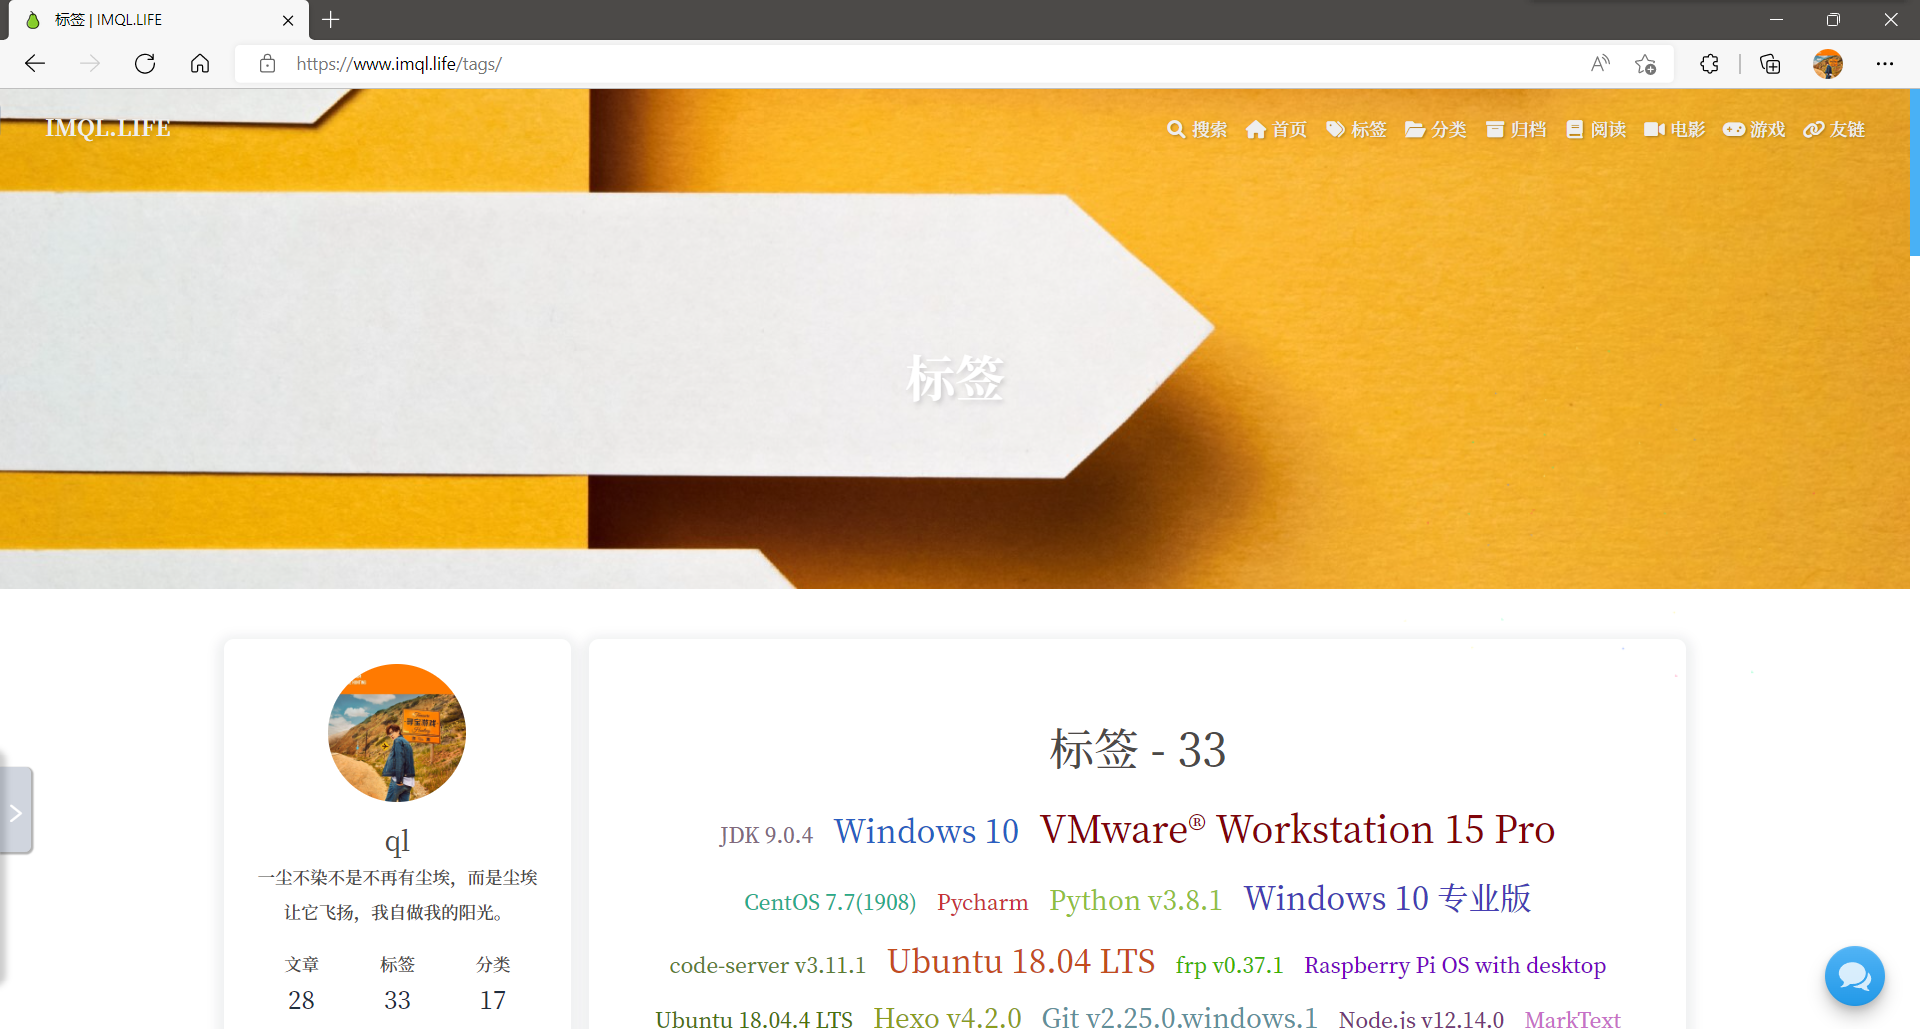
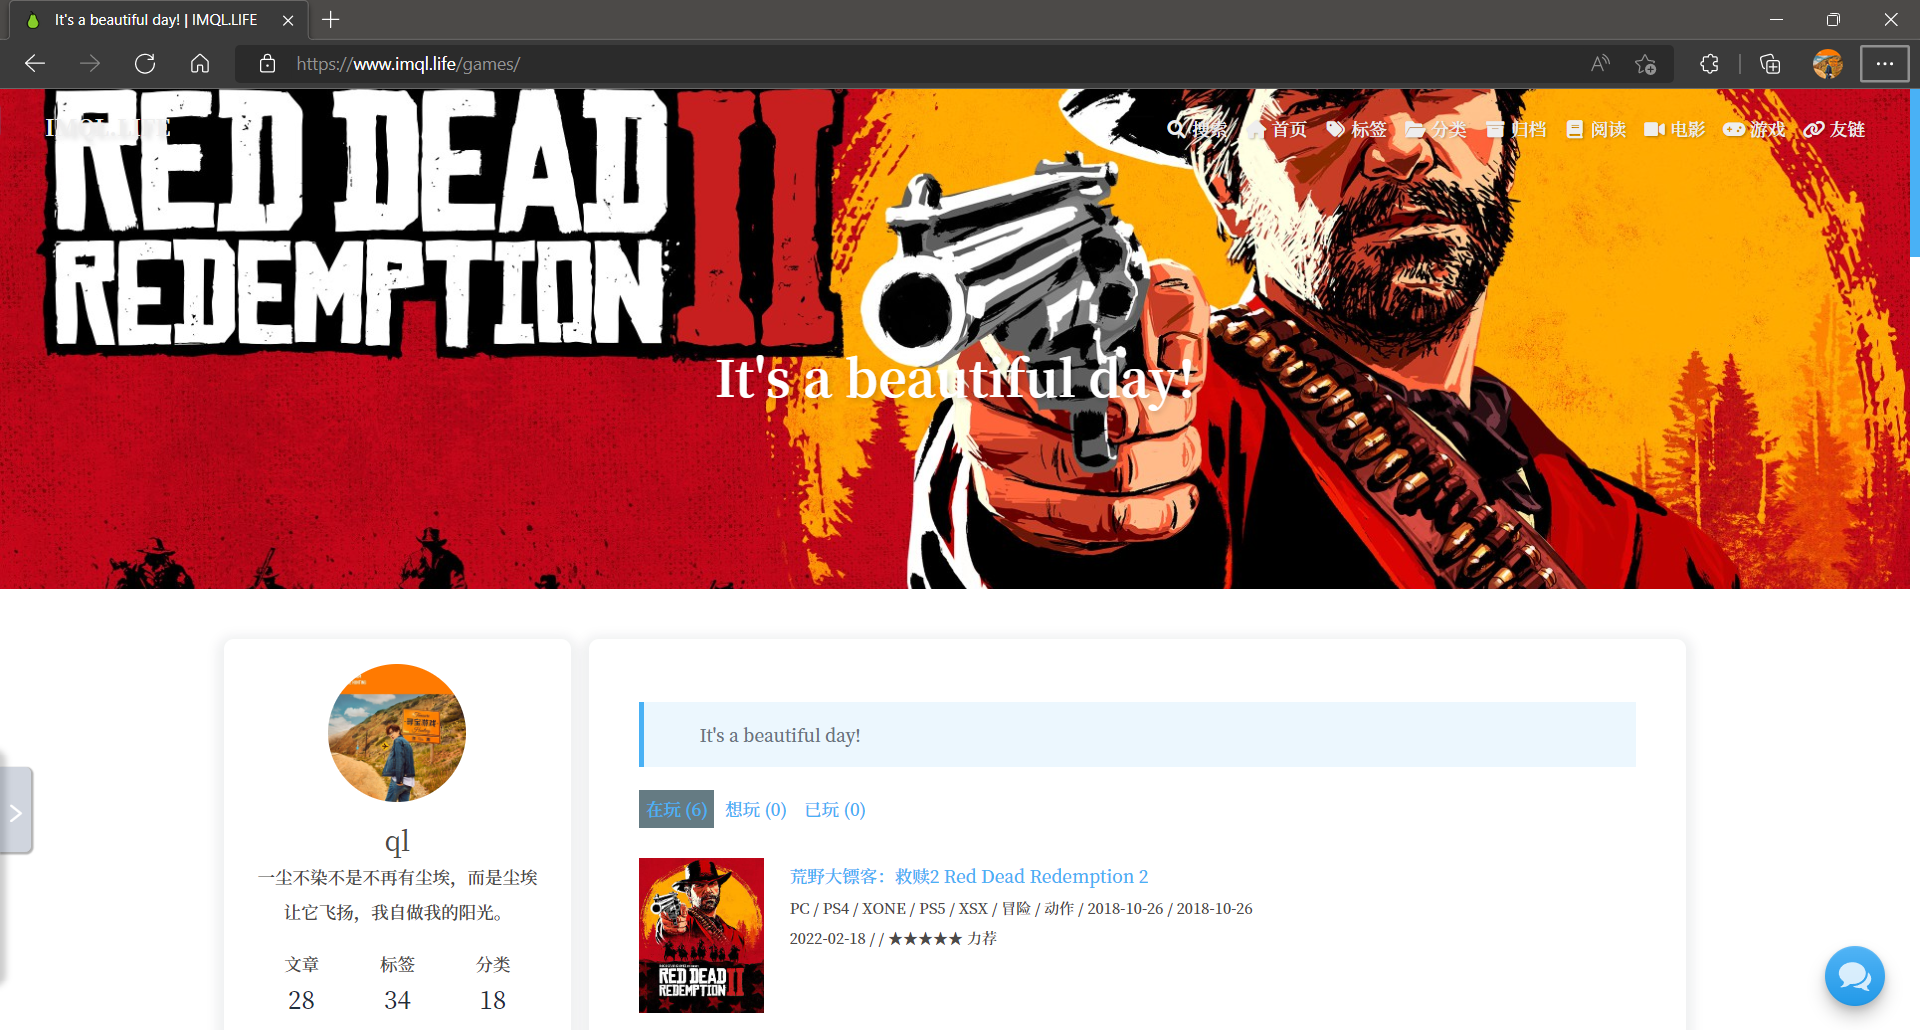
# 本行为<博客构建目录>\_config.butterfly.yml的第92行(随着Butterfly的不断更新,本行对应在你的_config.butterfly.yml中不一定是第92行,请以实际情况为准) # The banner image of home page -index_img:
1 2 3
# 本行为<博客构建目录>\_config.butterfly.yml的第92行(随着Butterfly的不断更新,本行对应在你的_config.butterfly.yml中不一定是第92行,请以实际情况为准) # The banner image of home page +index_img: <自己图床的地址或者本地地址>
效果图:
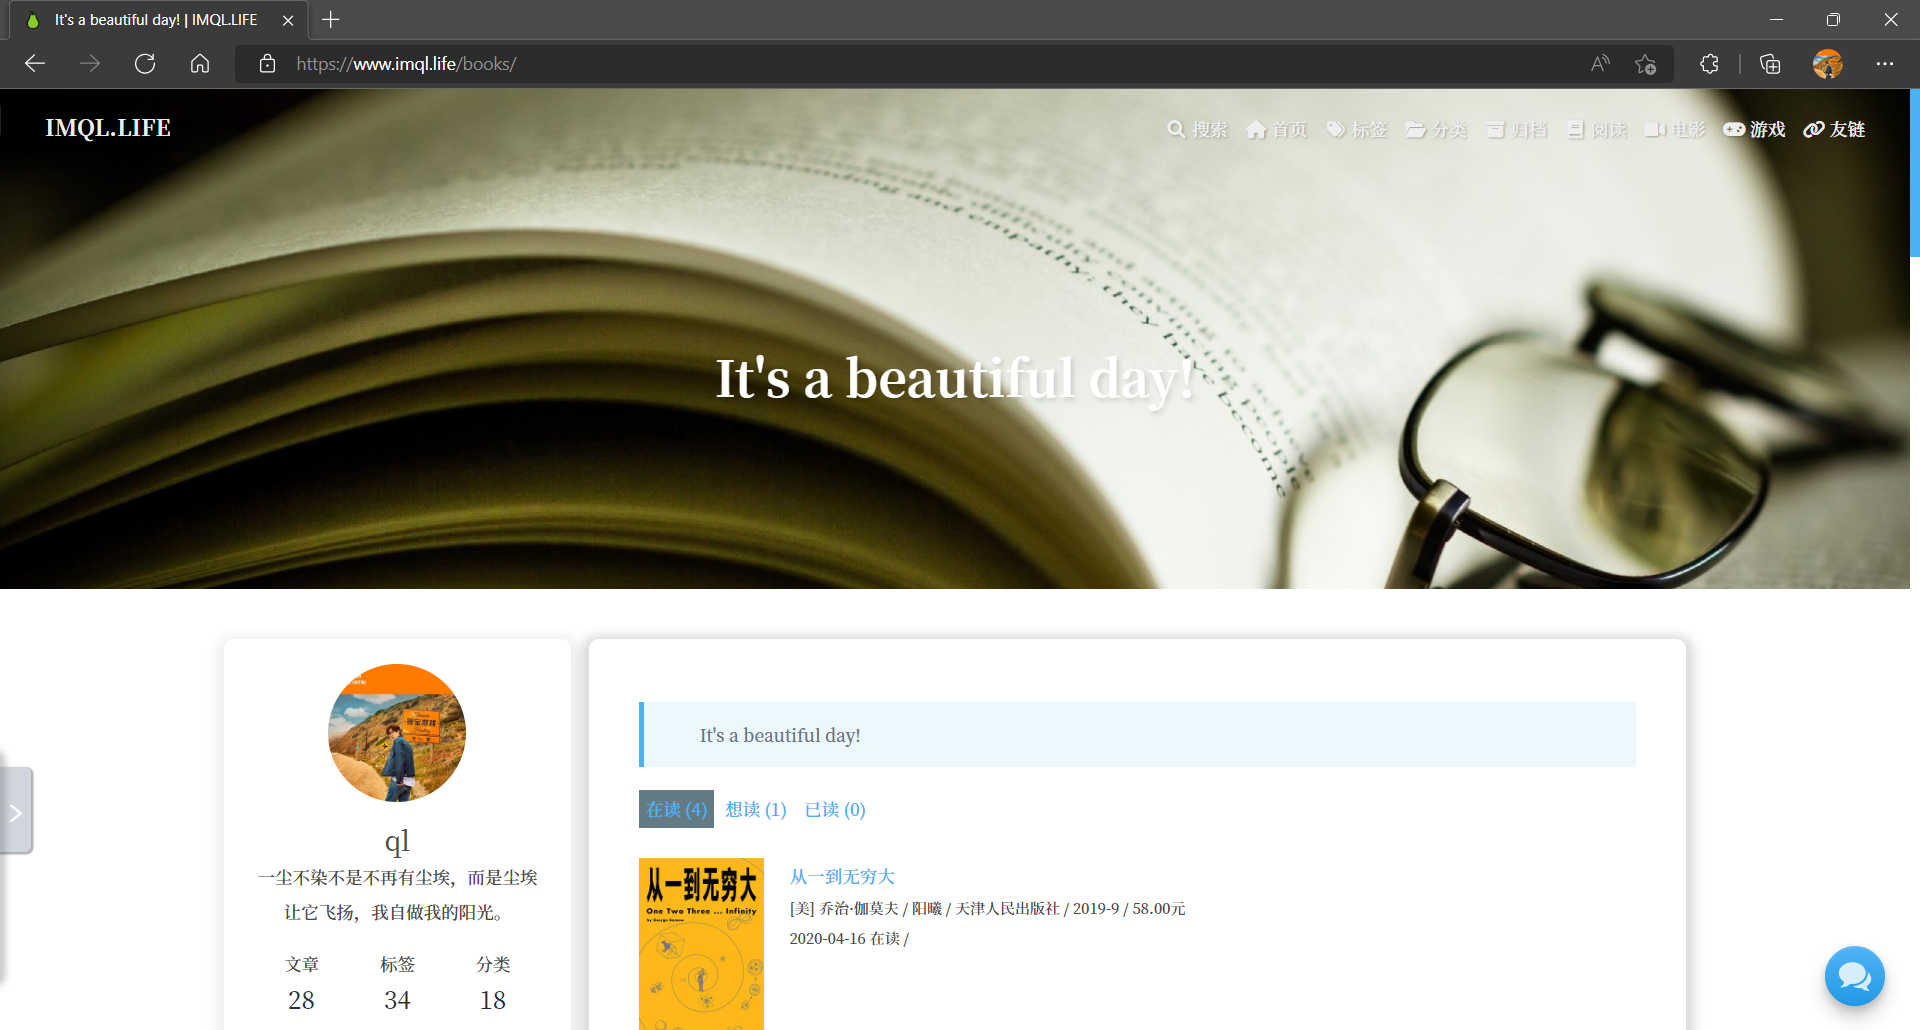
归档页大图
编辑 Butterfly 的配置文件:
1 2 3
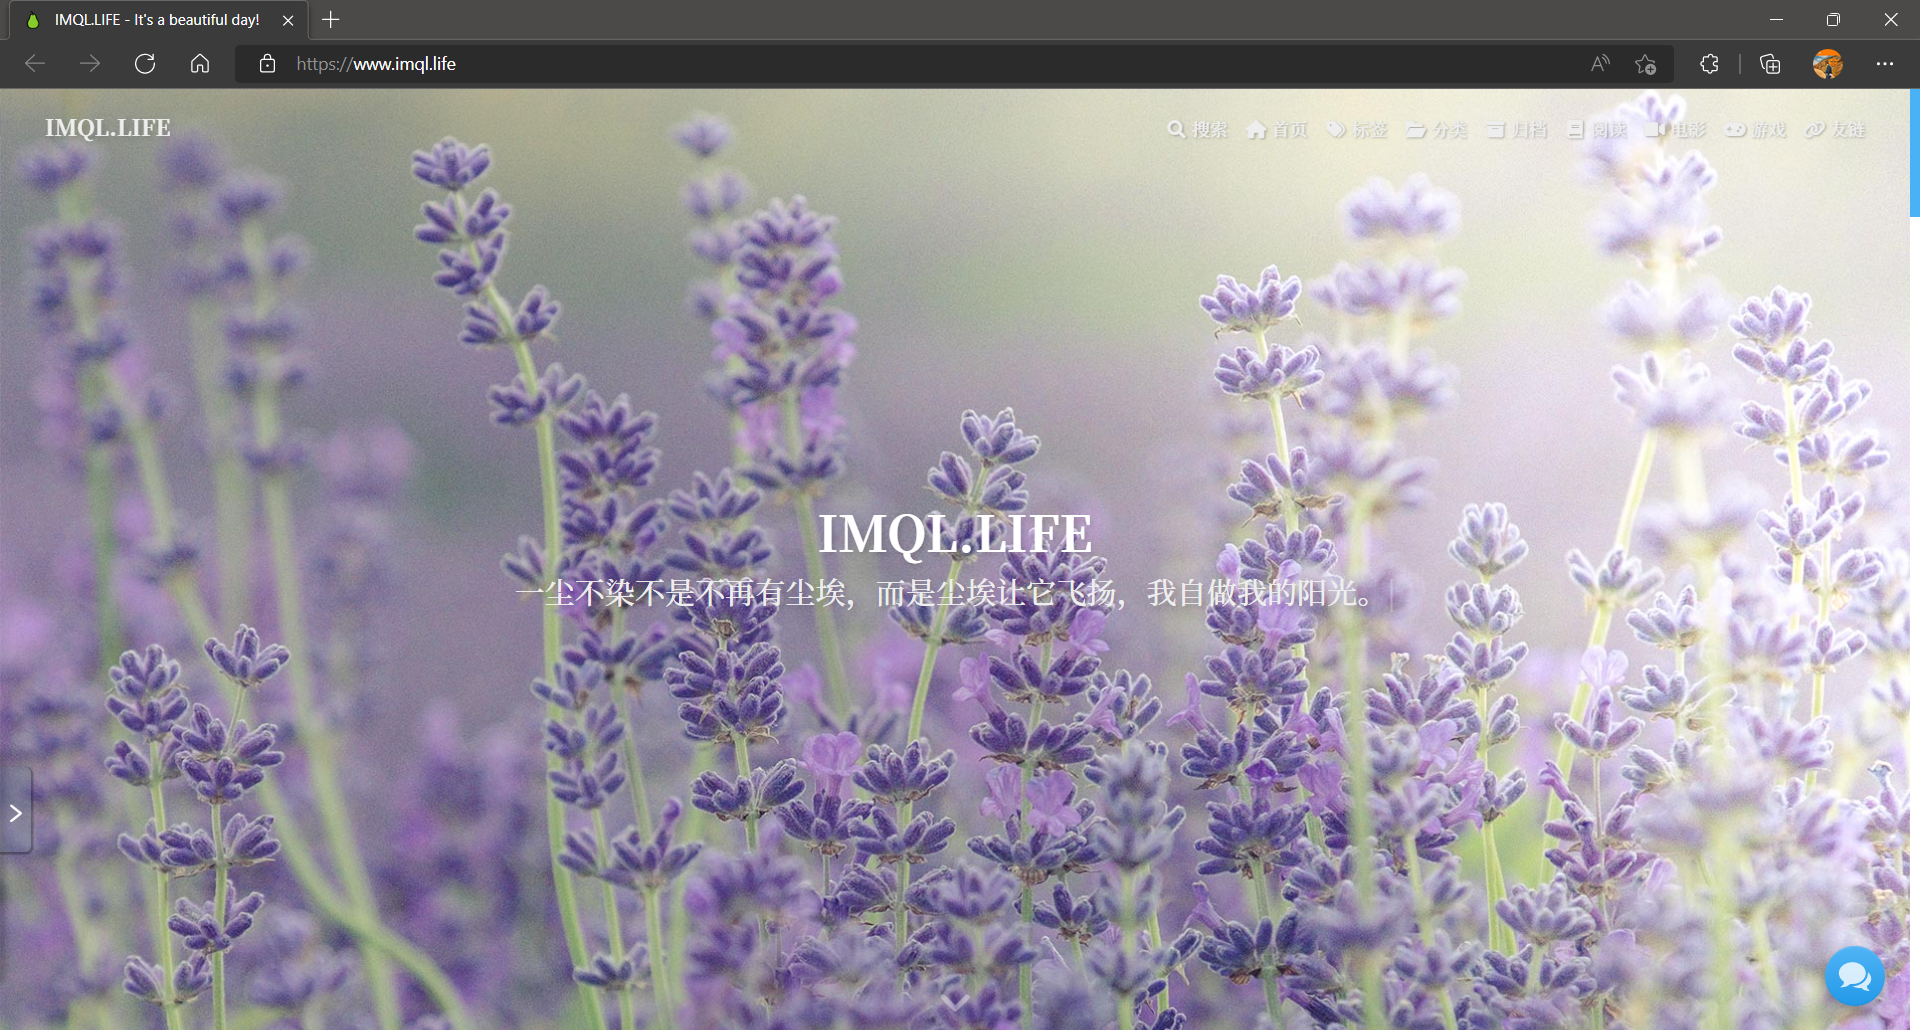
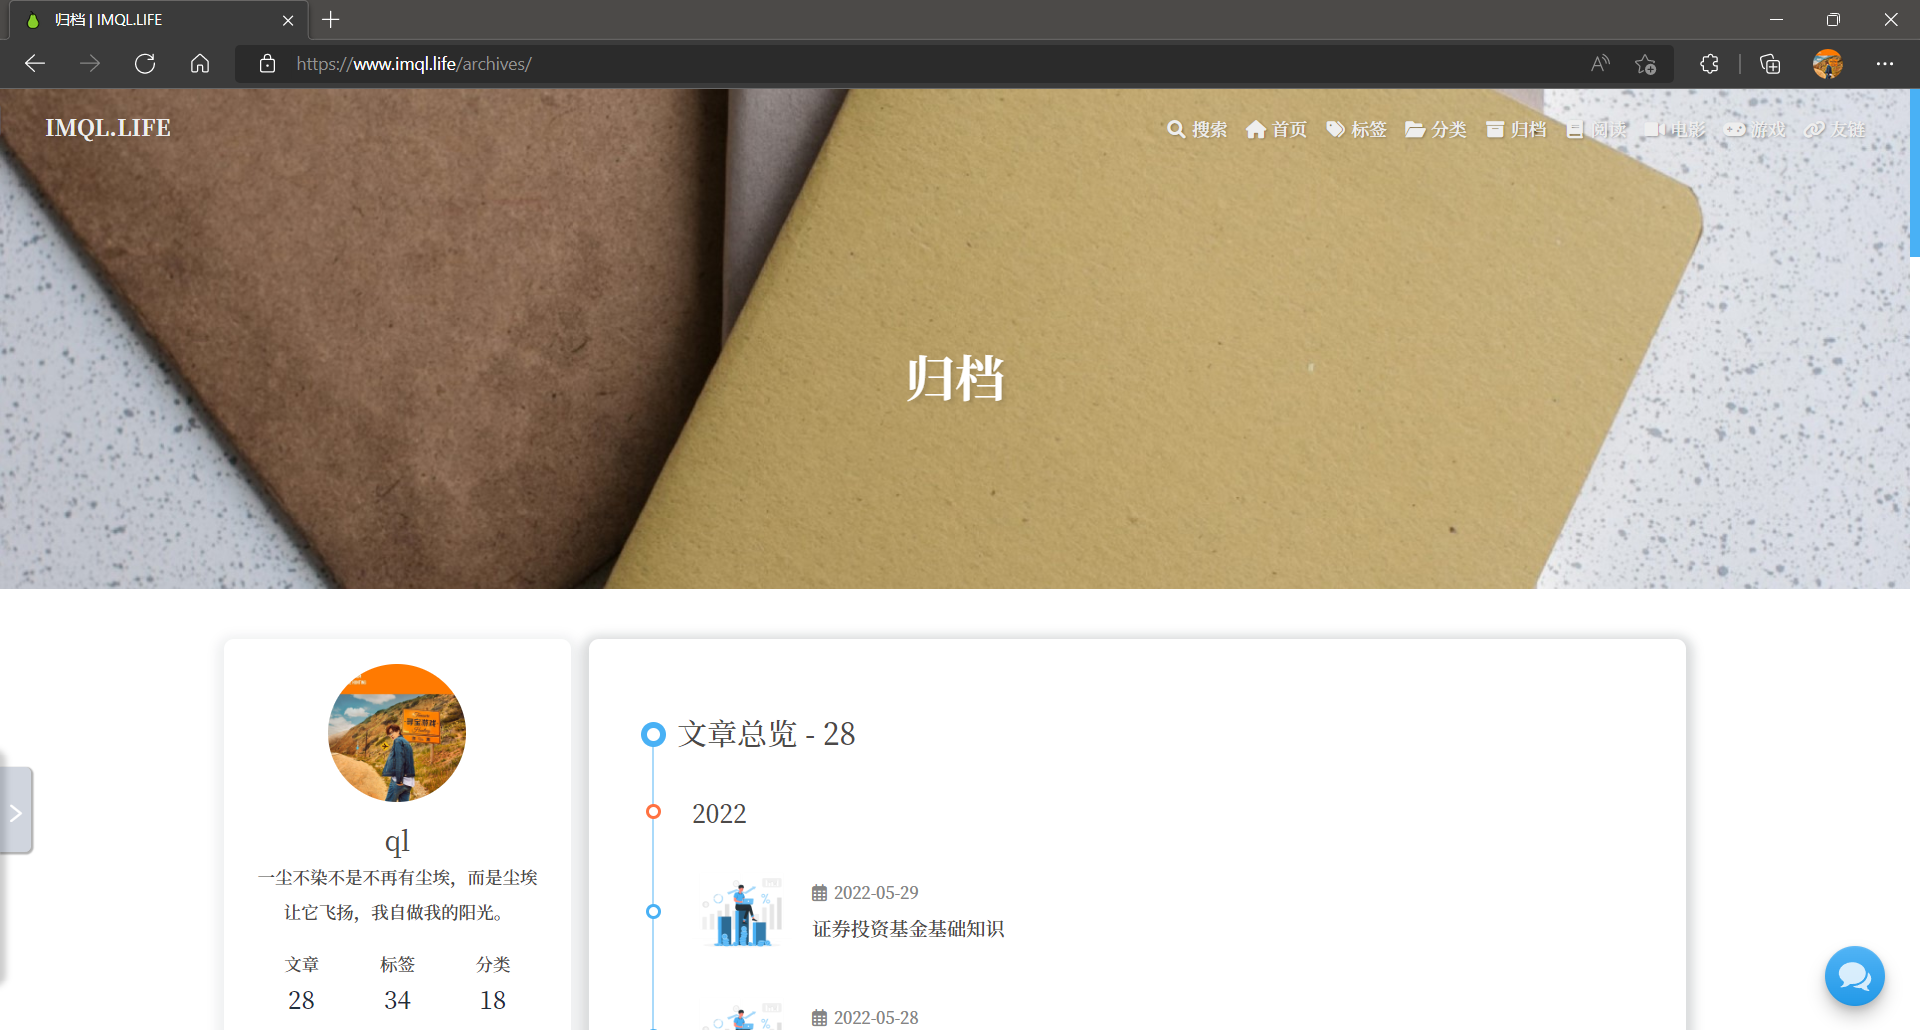
# 本行为<博客构建目录>\_config.butterfly.yml的第98行(随着Butterfly的不断更新,本行对应在你的_config.butterfly.yml中不一定是第98行,请以实际情况为准) # The banner image of archive page -archive_img:
1 2 3
# 本行为<博客构建目录>\_config.butterfly.yml的第98行(随着Butterfly的不断更新,本行对应在你的_config.butterfly.yml中不一定是第98行,请以实际情况为准) # The banner image of archive page +archive_img: <自己图床的地址或者本地地址>
效果图:
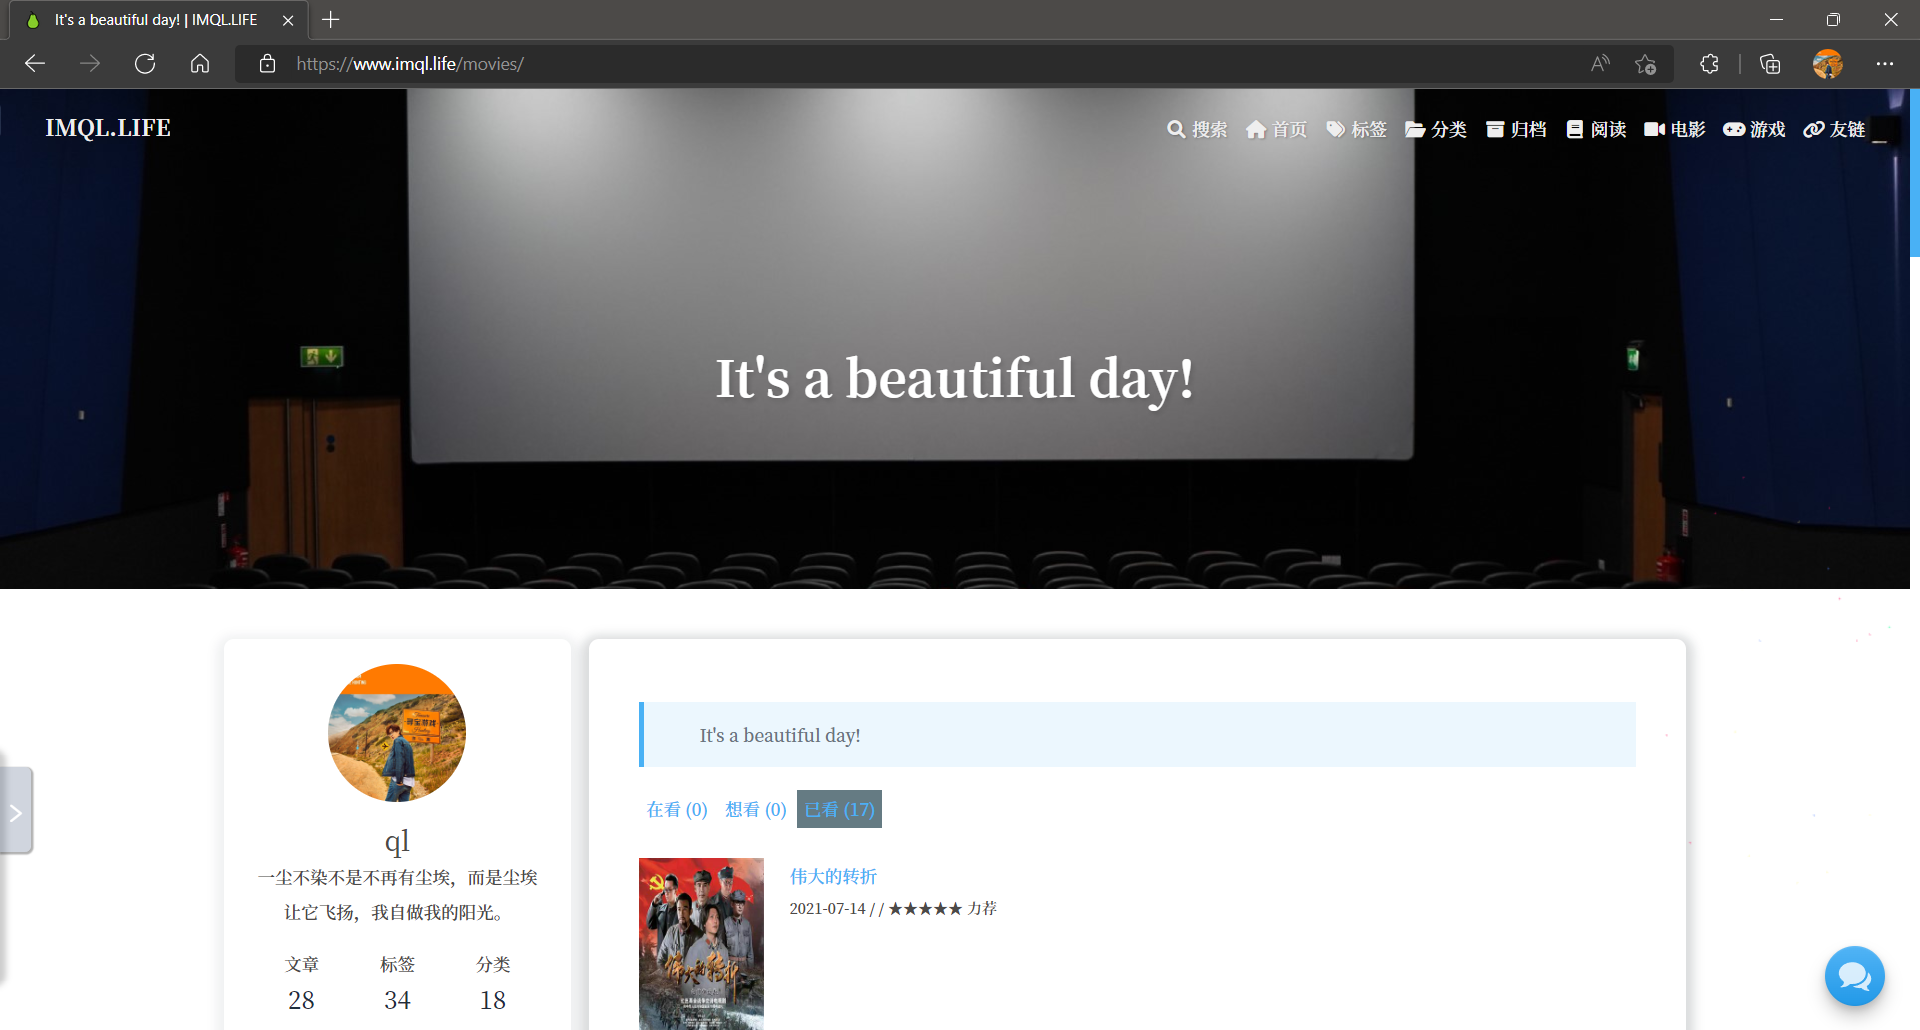
子标签页大图
编辑 Butterfly 的配置文件:
1 2 3 4
# 本行为<博客构建目录>\_config.butterfly.yml的第101行(随着Butterfly的不断更新,本行对应在你的_config.butterfly.yml中不一定是第101行,请以实际情况为准) # If the banner of tag page not setting, it will show the top_img # note: tag page, not tags page (子標籤頁面的 top_img) -tag_img:
1 2 3 4
# 本行为<博客构建目录>\_config.butterfly.yml的第101行(随着Butterfly的不断更新,本行对应在你的_config.butterfly.yml中不一定是第101行,请以实际情况为准) # If the banner of tag page not setting, it will show the top_img # note: tag page, not tags page (子標籤頁面的 top_img) +tag_img: <自己图床的地址或者本地地址>
效果图:
注意和标签页大图的区分。
子分类页大图
编辑 Butterfly 的配置文件:
1 2 3 4
# 本行为<博客构建目录>\_config.butterfly.yml的第110行(随着Butterfly的不断更新,本行对应在你的_config.butterfly.yml中不一定是第110行,请以实际情况为准) # If the banner of category page not setting, it will show the top_img # note: category page, not categories page (子分類頁面的 top_img) -category_img:
1 2 3 4
# 本行为<博客构建目录>\_config.butterfly.yml的第110行(随着Butterfly的不断更新,本行对应在你的_config.butterfly.yml中不一定是第110行,请以实际情况为准) # If the banner of category page not setting, it will show the top_img # note: category page, not categories page (子分類頁面的 top_img) +category_img: <自己图床的地址或者本地地址>
效果图:
注意和分类页大图的区分。
启用 404 页面
1 2 3 4 5 6
# 本行为<博客构建目录>\_config.butterfly.yml的第136行(随着Butterfly的不断更新,本行对应在你的_config.butterfly.yml中不一定是第136行,请以实际情况为准) # A simple 404 page error_404: - enable: false subtitle: 'Page Not Found' background: https://i.loli.net/2020/05/19/aKOcLiyPl2JQdFD.png
1 2 3 4 5 6
# 本行为<博客构建目录>\_config.butterfly.yml的第136行(随着Butterfly的不断更新,本行对应在你的_config.butterfly.yml中不一定是第136行,请以实际情况为准) # A simple 404 page error_404: + enable: true subtitle: 'Page Not Found' background: https://i.loli.net/2020/05/19/aKOcLiyPl2JQdFD.png
# 本行为<博客构建目录>\_config.butterfly.yml的第142行(随着Butterfly的不断更新,本行对应在你的_config.butterfly.yml中不一定是第142行,请以实际情况为准) post_meta: page: # Home Page date_type: created # created or updated or both 主頁文章日期是創建日或者更新日或都顯示 date_format: date # date/relative 顯示日期還是相對日期 categories: true # true or false 主頁是否顯示分類 - tags: false # true or false 主頁是否顯示標籤 label: true # true or false 顯示描述性文字 post: date_type: both # created or updated or both 文章頁日期是創建日或者更新日或都顯示 date_format: date # date/relative 顯示日期還是相對日期 categories: true # true or false 文章頁是否顯示分類 tags: true # true or false 文章頁是否顯示標籤 label: true # true or false 顯示描述性文字
1 2 3 4 5 6 7 8 9 10 11 12 13 14
# 本行为<博客构建目录>\_config.butterfly.yml的第142行(随着Butterfly的不断更新,本行对应在你的_config.butterfly.yml中不一定是第142行,请以实际情况为准) post_meta: page: # Home Page date_type: created # created or updated or both 主頁文章日期是創建日或者更新日或都顯示 date_format: date # date/relative 顯示日期還是相對日期 categories: true # true or false 主頁是否顯示分類 + tags: true # true or false 主頁是否顯示標籤 label: true # true or false 顯示描述性文字 post: date_type: both # created or updated or both 文章頁日期是創建日或者更新日或都顯示 date_format: date # date/relative 顯示日期還是相對日期 categories: true # true or false 文章頁是否顯示分類 tags: true # true or false 文章頁是否顯示標籤 label: true # true or false 顯示描述性文字
# 本行为<博客构建目录>\_config.butterfly.yml的第163行(随着Butterfly的不断更新,本行对应在你的_config.butterfly.yml中不一定是第163行,请以实际情况为准) # Display the article introduction on homepage # 1: description # 2: both (if the description exists, it will show description, or show the auto_excerpt) # 3: auto_excerpt (default) # false: do not show the article introduction index_post_content: - method: 3 length: 500 # if you set method to 2 or 3, the length need to config
1
2
3
4
5
6
7
8
9
# 本行为<博客构建目录>\_config.butterfly.yml的第163行(随着Butterfly的不断更新,本行对应在你的_config.butterfly.yml中不一定是第163行,请以实际情况为准) # Display the article introduction on homepage # 1: description # 2: both (if the description exists, it will show description, or show the auto_excerpt) # 3: auto_excerpt (default) # false: do not show the article introduction index_post_content: + method: false length: 500 # if you set method to 2 or 3, the length need to config
# 本行为<博客构建目录>\_config.butterfly.yml的第215行(随着Butterfly的不断更新,本行对应在你的_config.butterfly.yml中不一定是第215行,请以实际情况为准) # post_pagination (分頁) # value: 1 || 2 || false # 1: The 'next post' will link to old post # 2: The 'next post' will link to new post # false: disable pagination -post_pagination: 1
1 2 3 4 5 6 7
# 本行为<博客构建目录>\_config.butterfly.yml的第215行(随着Butterfly的不断更新,本行对应在你的_config.butterfly.yml中不一定是第215行,请以实际情况为准) # post_pagination (分頁) # value: 1 || 2 || false # 1: The 'next post' will link to old post # 2: The 'next post' will link to new post # false: disable pagination +post_pagination: 2
# 本行为<博客构建目录>\_config.butterfly.yml的第222行(随着Butterfly的不断更新,本行对应在你的_config.butterfly.yml中不一定是第222行,请以实际情况为准) # anchor # when you scroll in post, the URL will update according to header id. -anchor: false
1
2
3
4
# 本行为<博客构建目录>\_config.butterfly.yml的第222行(随着Butterfly的不断更新,本行对应在你的_config.butterfly.yml中不一定是第222行,请以实际情况为准)
# anchor
# when you scroll in post, the URL will update according to header id.
+anchor: true


 WeChat