Powershell——微软拥抱开源的又一力作。
前言
基于 .NET Framework,2006 年 11 月,Windows PowerShell 1.0 作为可选组件出现在 Windows Server 2008 上,到 2016 年 8 月,Windows PowerShell 5.1 在 Windows 10 周年更新和 Windows Server 2016 中发布,一直到现在,Windows PowerShell 仍然停留在 5.1,如下图,这是为何?
其实微软在这么长的时间里并没有闲着,就在 2018 年 1 月,基于 .NET Core 2.0 构建的开源软件 PowerShell 6.0 发布。
.NET Core,即 .NET Framework 的子集,原来,微软这又是要在开源世界开辟自己的空间了。
如今的 PowerShell 已来到了 7,一个跨平台的任务自动化解决方案,算是真正诞生了,不过我们今天不是要来讲 PowerShell,而是要讲 Windows PowerShell。
Windows PowerShell 美化
一直以来,Windows 的图形化界面深入人心。在参加工作前,本人对其命令行界面的认识一直停留在 CMD 这个黑乎乎的窗口,而且我也几乎认为这个黑乎乎的窗口什么用也没有,工作后,发现 CMD 还是比较有用的,但是和 Linux 上的 bash 、zsh 和 fish 相比,就显得相形见绌了,至于 Windows PowerShell,我一直是将其与 CMD 画等号的。
微软的又一开源软件——Windows Terminal 的出现让我重新去看待 Windows 的命令行界面,去了解和使用 Windows PowerShell。
如下图,Windows Terminal 让 Windows PowerShell 看起来顺眼了一些,但仍然不够,类似于 bash 、zsh 和 fish,PowerShell 也有自己的 oh-my-xxx 项目——oh-my-posh。
安装 oh-my-posh[1]
- 利用 PowerShell 命令安装:
1 | Install-Module oh-my-posh -Scope CurrentUser |
- 提示需要 NuGet,回车以安装并导入:
- 输入 Y 以确定从“PSGallery”安装模块:
安装 Nerd Fonts(Hack)
前往 Nerd Fonts 发布页面,我下载的是 v2.1.0 的 Hack 字体。
下载好后解压,这里有许多版本的 Hack,要选 Windows Compatible 的, 我就装个 Hack Regular Nerd Font Complete Windows Compatible 吧,直接双击安装即可。
设置字体
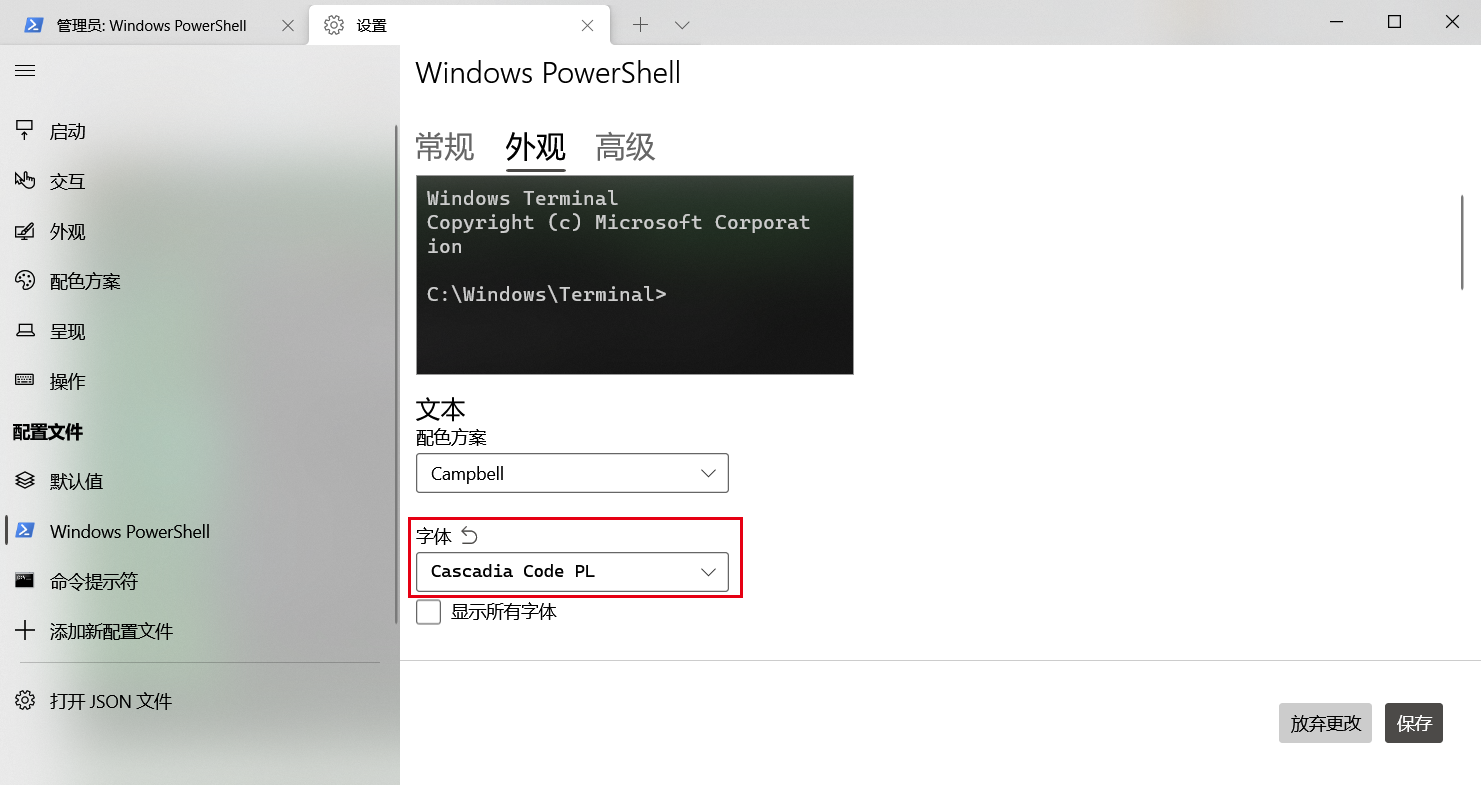
重新进入 Windows PowerShell,找到 Windows PowerShell 的字体设置,如下图,选择 Hack NF,保存。
安装 posh-git
利用 PowerShell 命令安装:
1 | Install-Module posh-git -Scope CurrentUser |
同样输入 Y 以确定从“PSGallery”安装模块。
编辑 PowerShell 配置文件
记事本打开配置文件:
1 | notepad.exe $PROFILE |
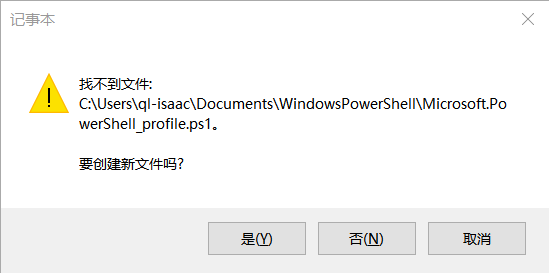
还不存在此文件,选择创建:
编辑配置文件:
1 | +Import-Module posh-git |
以上-Theme后面指定自己喜欢的主题,主题列表见此。
设置 PowerShell 执行策略[2]
一般此时重新进入 Windows PowerShell 就能看到已经美化好了,但是结果是:
以上红字提示的参阅地址中有解决办法,原来默认的执行策略为 Restricted,如下图。
我们设置执行策略为 RemoteSigned:
1 | Set-ExecutionPolicy -ExecutionPolicy RemoteSigned |
再重新进入 Windows PowerShell(一开始需要进行导入,可能有点慢),美化完成。


